building a shade structure

I finally decided to invest in some hydrangeas 3 or 4 years ago, well I had a good amount of flowers that were not usable because they didn’t get enough shade. So I decided it was time to build a shade structure, I decided this two years ago but we finally put it up last summer. I also decided that since I was putting one up, maybe I should just put two up. Now I have a space for all sorts of shade loving stuff: ferns, astilbe, hostas, even mint likes a little shade.

I had seen a few different set ups at other peoples farms. The most common seems to be a caterpillar tunnel with shade cloth over it. I felt like that design would involve buying a lot of stuff and lead to some wasted space in my tiny and overcrowded field. The design I was more interested in was one I had seen that came from a ginseng farm. Posts in the ground with shade cloth flat along the top. So I made a couple of inquiries with people using some form of this set up and here is what we came up with. FYI, I’m not sure that it is any better than a caterpillar but it’s what we did.

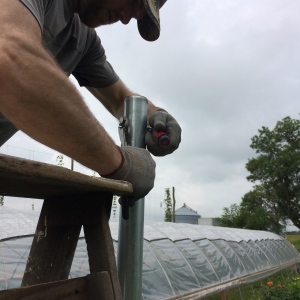
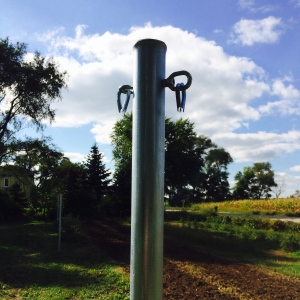
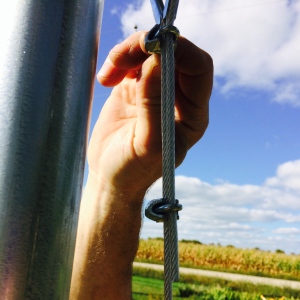
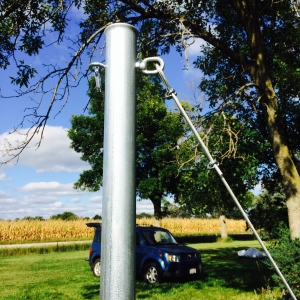
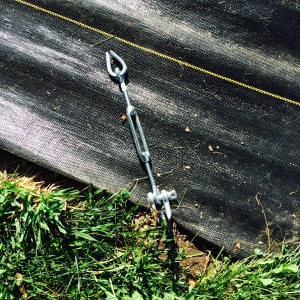
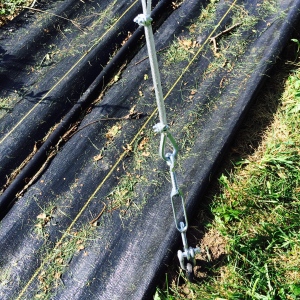
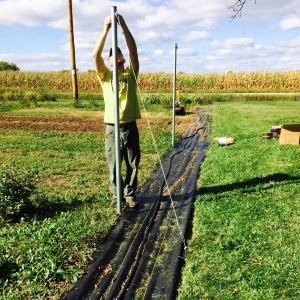
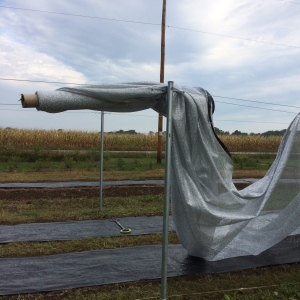
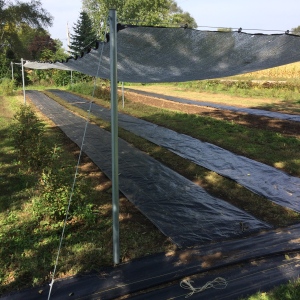
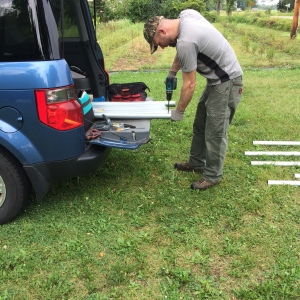
We used 10 foot long sections of 2 inch conduit (not fence top rail) and waited until the day after a good soaking rain. Then we pounded it 3 feet into the ground with a post driver. The shade cloth I have is 80 feet long so we put in 3 posts per side spaced 40 feet apart. Then put the eye bolts in since they get in the way of that post driver if you put them in before. We did not set these posts in concrete, it’s probably not a bad idea to do so, but we are going for cheap and easy. We chose to provide downward tension with cables and ground anchors. Seemed easier on paper but a tractor with an auger and a bunch of cement is probably easier. We don’t have a tractor with an auger, and there is already stuff planted here so a tractor would not fit without crushing my plants. So manual labor it was for us (and I keep saying us but it was mostly Nich.)

All six posts were secured in this way. We used 30″ long auger style earth anchors to secure the cables. We get a lot of wind out there so we wanted to make sure that these things wouldn’t pull out of the ground. The anchors came from Growers Supply, they are heavy but we’re only about a four hour drive so shipping was not prohibitive. All of the rest of the hardware and cable came from e-rigging.com, we chose the coated cable since it’s a little nicer on your fingers.

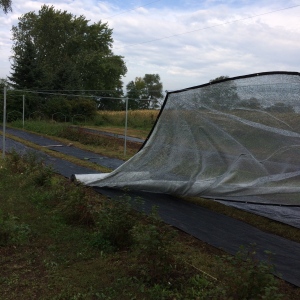
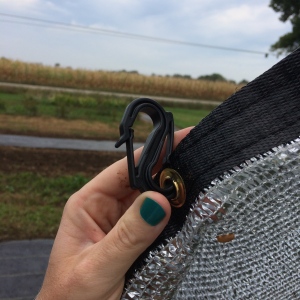
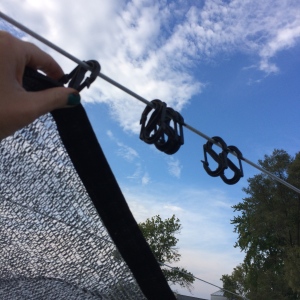
We ran cable around the perimeter for clipping the fabric on, as well as zig-zagging from post to post to hold up the shade cloth and keep it from sagging. I choose those plastic clips to make it easy enough for me to get this cloth on and off every year, it’s easier with two people but can be done by myself. You can see that the sun does come in on that south bed, the degree will change throughout the season. Likewise there is shade on the bed that is not covered to the north. I planted shade lovers in the middle bed which always gets shade and plants that like the shade but don’t need it in the beds on either side.

We chose the aluminet since it is physically lighter and it allegedly keeps things cooler, it is more expensive. These concerns were really more related to the choice for covering the hoophouse, but since this is what I was buying I bought a couple extras for the shade structure. And it really is light, I can easily handle that big piece of cloth by myself… if it’s not too windy.

We built two of these structures, which are 80 ft x 14 ft, which was decided by the fact that I had two extra pieces of shade cloth in that size, which were taped with grommets every 2 feet. So here is the cost breakdown:

  • 2 shade panels: The invoice is too hard to find but I think it was about $800-1000 for both with shipping, we used a local supplier but it wasn’t a stock item so they were shipped anyway.
  • 12 posts and eye bolts/hardware for the top of the posts $250 at Home Depot and a local hardware store.
  • 12 ground anchors and those plastic clips $170 (including shipping) from Growers Supply.
  • A big spool of coated cable and all of the rigging hardware $215 from e-rigging.com, we might have cheated a little on this one since we still had a some of these things leftover from the hops trellis project.

So about $800 for each structure and it took two of us a little over two days to complete.
growing hops

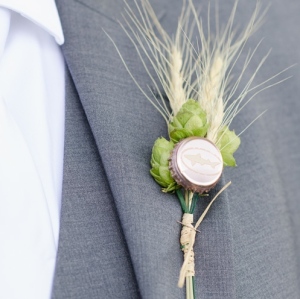
Yes we grow hops on our flower farm. We love them. They are a beautiful addition to floral designs and Nich likes to brew beer, so we fight over them every year. Our answer to this dilemma was to plant more hops! It all started about 5 years ago with a couple of rhizomes from a friend who thought we should grow some. So we did. The next year we planted a few more, and then a few more, and then…. We now have 22 different plants, all different varieties, growing in a line next to the hoophouse. Here are some of the lovely outcomes of our hops production:

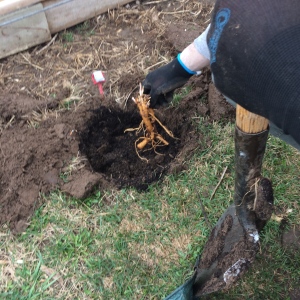
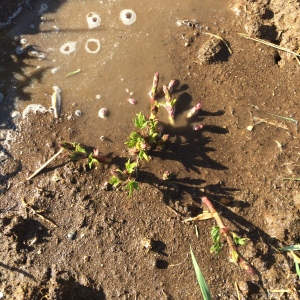
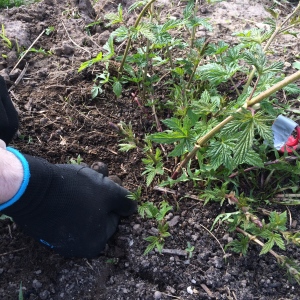
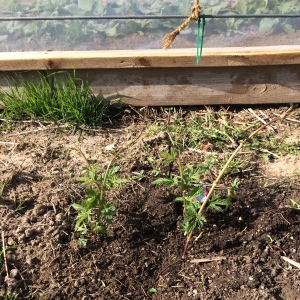
Plant the rhizomes in the spring (like now) and we always spring for the jumbo roots. We have gotten some from a local home brew shop, Freshops.com, Great Lakes Hops, and an organic producer Thyme Garden. They all have great info on their websites but one of the best websites for when and how much individual varieties produce is Beer Legends. Another fantastic resource for us has been Gorst Valley Hops. They offer intense workshops and have done lots of research on growing/producing and what not. Rumor has it that they are going to be selling plants that are certified disease free, which is great because nobody else does that and we did get in a disease last year from a previously reputable source. Sounds like this is becoming more common with the growing popularity and demand for plants. The vines are actually bines, but I am going to call them vines because I always think bines looks like a typo. They are aggressive plants and need to be thinned and pruned during the season to keep them in check. We select about 4 of the nicer looking sprouts to keep every spring and then pinch out the other sprouts, you have to do this every week because they keep on coming. It slows down in July.

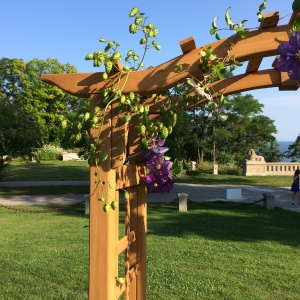
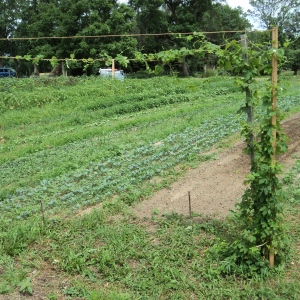
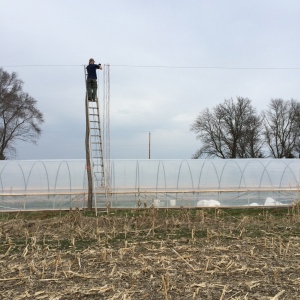
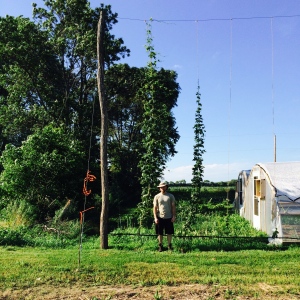
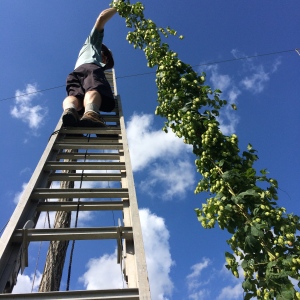
They are heavy feeders and drinkers, if you want pretty green cones you better make sure they get plenty of water. We have an irrigation line on them and feed with a granular three times per year as well as a good dose of compost in the spring. They grow about 20 feet high by their second year, you can grow them horizontally but they may require a bit of help. We set up this weenie trellis the first year which broke and then we tried a couple of other things in the next year but it was apparent that we needed serious support. And if you want to grow 20 plants you would need a lot of room to go horizontal. Black locust is the tree of choice for this because it is abundant in these parts, it is very rot resistant, and it grows tall and straight. So we went into the woods with Gramps, his tractor, and a couple of chainsaws and we came out with three 25 foot long posts. They went about 4 feet into the ground and were set in cement. Wire cables are attached to the top of each post and run down to ground anchors to keep the whole thing from toppling over. Those plants get tall and bushy and on a breezy day… well, the guy lines are a good idea. Wire cable also runs along the top and bottom with coir rope attached for each plant to grow up. Yes that is a twenty foot extension ladder and yes it makes me nervous. You have to go up every spring to tie the ropes and every fall to cut the plants down.

You won’t harvest much the first and second year. There will be some cones that you can pick but leave the leaves and vine in place. Much like peonies you need that plant to feed the root system so that you get nice plants in the future. By the third or fourth year you should have vigorous plants and it is then OK to cut the entire plant when you harvest.

I like to harvest when they are pretty and green, which is too early if you want them for beer brewing. It’s about a 2-3 week window before they begin to lose their vibrancy and get a little papery, which is still pretty… but not as pretty. With all of our varieties I can have hops for design use from about mid-July through September, maybe early October. So what are some of my favorite varieties? I will have to update this at the end of the season after some of these plants come into their third year but for now they are:

  • Cascade: this one is easy to find, you can probably pick one up at your local garden center. It is vigorous and produces tons of cones on appropriately sized side branches.
  • Nugget: produces big beautiful cones. I know some people like Chinook for this but I prefer the shape of Nugget.
  • Saaz: it is a European variety which I have heard complaints about it not growing very well here. I think it produces lovely cones and produces early. It is not as vigorous as others but it work for me.

A few issues/lessons learned:

  • They are prone to some viruses and downy mildews. Allegedly most of these should not be a problem for your flower crops but I don’t trust that. We thought we had some hops downy mildew and sent in a sample, turned out to be wind damage and probably also not enough water. Whew! What a relief. The leaves were not attractive and had to be removed but most of the cones were fine. We also though we had a virus on one…. and we were correct. The plant had to be destroyed and removed.
  • Japanese beetles can be a problem but we are already used to that. Not much you can do but pick off the unattractive parts
  • Spider mites, we got them bad one year. It was the year of the horrible drought which was also the year that soybeans were planted in the adjacent field. Most hops were not usable but we have not had that problem since.
  • They are heavy feeders! We planted these about 2 feet from the edge of my hoophouse. There were dahlias in there planted about 5-6 feet away from the hops. They did not perform well and some looked a bit chlorotic by August.
  • Use new rope every year. Even if you are able to get the hops off the rope intact that rope will not be able to support those heavy plants next year. It will come down with a strong wind three weeks before they are ready for harvest on a day when you really don’t have time to deal with it… hypothetically speaking of course.

Here is a link for an IPM guide, it’s a big one but if you really want to know something about IPM on hops this is the place to look.

building a cooler

Last year we bought a house, really it was 2013 but right at the end of the year. So we had the task of building a new cooler last spring and someone suggested I write a blog post about. Well here it is and I am going to apologize for the fact that it is not a very riveting story.

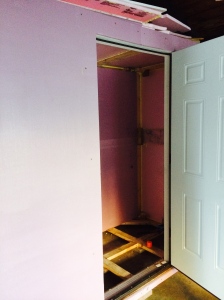
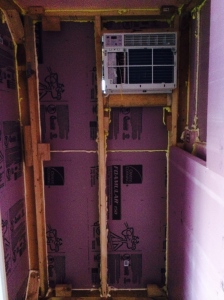
Here is why I love my Coolbot cooler and intend to build another one… it’s way cheaper than a regular walk in. A friend of mine is a florist and she just had a new walk in cooler installed. She went with the typical rooftop unit type, the electrical work and cooling unit alone cost her somewhere in the neighborhood of $7-8000. A Coolbot and a window air conditioner cost about $700-1200 depending on your taste in air conditioners. I know there are people out there who say that these things are not the correct humidity for flowers. Perhaps that is true. I have been using this type of cooler for 5 years and haven’t had any issues. I usually keep a bucket of water in there and if I am concerned about a particular item getting a little dry I cover it loosely with a plastic bag.

Her are my instructions for how to build a Coolbot cooler:

  1. Go to the website http://www.storeitcold.com/coolerconstruction.html
  2. Read the info on their website regarding what type of AC unit to buy.
  3. Read through their info on how to insulate properly.
  4. Follow their plans and instructions to build your own cooler. Seriously they have thought of everything. If you run into problems go back to the website, I’m sure the answer is there. If not, give them a call and they will help you!
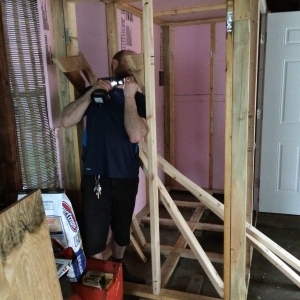
  5. Gather all of your supplies, find a handy person, and get to work. Someone who is familiar with a hammer and 2×4’s is necessary for this step.

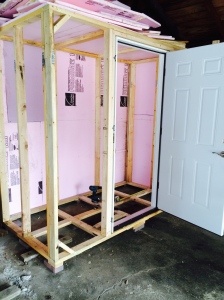
A couple other bits of advice: Make it the right size for your situation. Bigger is usually better, unless you want to fit your car into the garage… in which case measure your car before you start to build. Also don’t leave untreated/unpainted wood in there for shelves and what not. It will absorb moisture and get a little moldy. Also cover the floor with something you can mop. Happy building!

Project total about $1000 for 4×8 cooler box (not including the ac unit and coolbot):

  • $550 for the double layer of 2in pink board
  • $150 for lumber
  • $200 for the door
  • $100 for hardware and spray foam

welcome 2015

It sure has been a while since I updated this blog. Last year was a long and busy one, I had little time for reflecting until about September by which time I was unhappy with a whole lot of things which I was reflecting about. I did very nearly decide to quit growing flowers as a profession. I have been sorting it all out over the last few months and I will be making some big changes to my business, and thus my life, this coming year.

In short I did not decide to quit growing flowers but I did decide to scale it back a little. And by scale it back I mean that I will be growing more this year than I did last year. You see I still have some more sorting to do. Or maybe I am just slow to learn my lessons. My plan is to hire some help and get my personal life back to some degree. So here is what is currently happening:

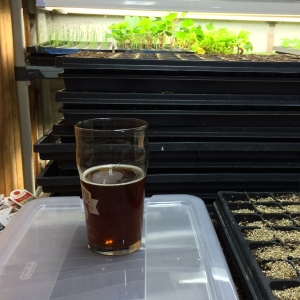
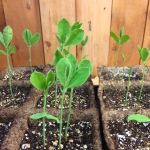
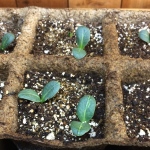
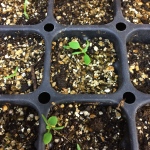
I have got lots of baby plants growing in my basement getting ready for the spring. Hopefully spring will arrive in a timely fashion this year. These are all about three weeks old, some are so small and slow, I should just order plugs and save myself the trouble. Things like eucalyptus, poppies, campanula. But then I look at the price of the plugs and say I can do it myself. Well now my grow room is nearly full and I need to start another 15 flats next week.